As we all know, in modern CNC machining, tolerances are almost everywhere. But in the early days of the first industrial revolution, engineers built machine parts with custom designs and manufactured them in “one-off” production. Although this method can help manufacturers achieve dimensional accuracy, it prolongs the delivery time of goods and increases time costs.
At the end of the First Industrial Revolution, Eli Whitney, an inventor of the cotton gin, figured out how to make several different rifles so they could be used interchangeably. And this manufacturing method is also showing the world how to manufacture the components of the assembly according to certain standard machining tolerances.
What exactly are machining tolerances? How does it work? If you are confused about this, continue reading, you will get all the answers about machining tolerances.

What is Tolerance in Machining?
A tolerance is simply a measure of the acceptable variation (deviation) in the dimensions of the part you want. In other words, the maximum and minimum size constraints that you are allowed to specify for a part. Usually, we use “±” to express, and attach the acceptable deviation value after it. (for example, ±0.05)
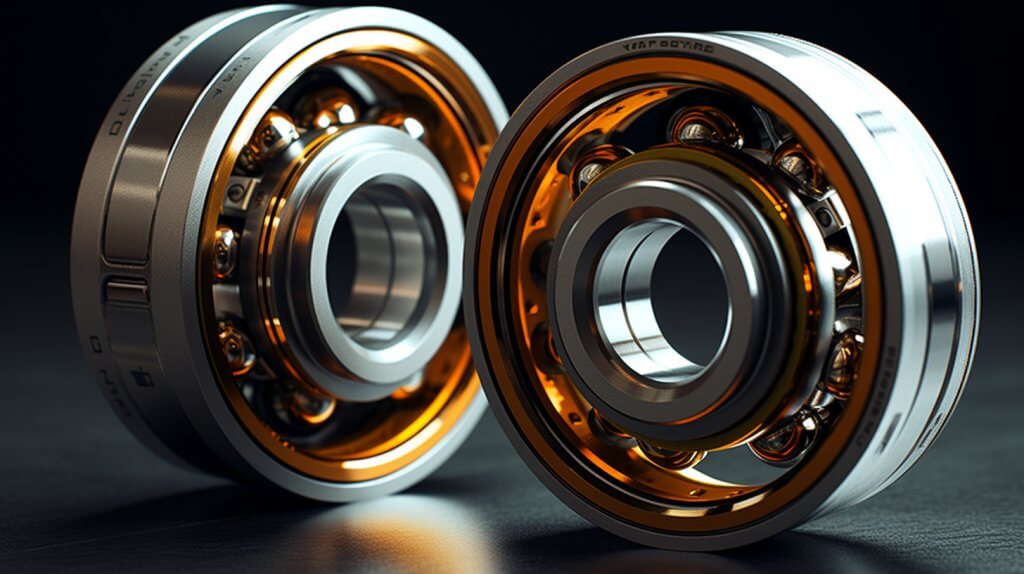
In order to better understand what tolerances are, you need first to consider the scenario of manufacturing a shaft that will be coupled to a bearing. Let’s take the following figure as an example.

Assume the diameter of the bearing is 35mm. In this case, if you build a shaft with a diameter of 35mm (or larger), it will be difficult to fit the shaft into the bearing. But if you are manufacturing a 30mm diameter shaft, it will be a bit loose for the bearings.
The machining tolerance is the acceptable deviation in the dimensions of the specified part that you allow. For example, a shaft dimension of 34±0.05 mm can be specified when manufacturing the shaft. This dimension then indicates that a shaft diameter between 33.95 mm and 34.05 mm is satisfactory for a shaft bearing assembly.
Types of Machining Tolerances
In the actual CNC machining process, we use different types of tolerances depending on the type of part being designed. So, in this part, we will introduce you to different tolerance types.
Unilateral Tolerance
A unilateral tolerance is a tolerance that only allows deviation from a standard dimension in one direction. Simply put, it is either + or -. For example, if you need to manufacture a shaft with a diameter of 35mm and use a unilateral tolerance of -0.05mm, the diameter of the qualified shaft assembly is 35-0.05mm. If you are using a unilateral tolerance of +0.05mm, the qualified shaft assembly diameter is 35 +0.05mm.
Bilateral Tolerance
Unlike unilateral tolerances, bilateral tolerances allow only acceptable deviations in the positive and negative directions. This tolerance is also what we said in part one if you needed to make a proper shaft assembly for a 35mm diameter bearing. The tolerance you specified is ±0.05 mm, and the shaft assembly with a diameter of 35±0.05 mm is qualified. And ±0.05 mm is what we call a bilateral tolerance.
Limit Tolerance
Limit tolerance, as the name implies, expresses the tolerance of the limited possible value of a part. For example, if you need a shaft assembly for a bearing with a diameter of 35mm, the acceptable limit tolerance is ±5mm. Shaft assemblies with dimensions between 34.5mm and 35.5mm are acceptable.
Standard Machining Tolerance
Standard tolerances are machining tolerances that are widely used in most manufactured parts today. These machining tolerances are typically in the range of ±0.005 mm and ±0.03 mm. Fabricators typically use standard tolerances when the customer does not specify a tolerance.

Here we list the standard tolerances for different manufacturing processes for you.
| Processes | Standard Tolerance |
| CNC Lathe Cutting | ±0.005mm |
| 3-Axis CNC Milling | ±0.005mm |
| 5-Axis CNC Milling | ±0.005mm |
| CNC Routing | ±0.005mm |
| 3D Printing | ±0.004mm |
| Engraving | ±0.005mm |
| Gasket Cutting | ±0.030mm |
The standard tolerance shown on the sheet is set by various international standards agencies. These standard tolerances can be ideal in the manufacture of simple parts such as pipes and threads. But if you need to know more complex parts, using specified tolerance is more appropriate.
The Importance of Machining Tolerance
In the CNC manufacturing process, tolerances are almost a must. This is because in most CNC manufacturing, it is almost impossible to achieve the same dimensional accuracy and mass production at the same time. Therefore, within the allowable tolerance range, the manufacturer can manufacture interchangeable parts while saving a lot of time and cost.
Therefore, in CNC manufacturing, choosing an appropriate tolerance value is a skill that all engineers must master.
Understanding Geometric Dimensioning and Tolerance(GD&T)
You also need to know geometric dimensioning and tolerancing that gives you a higher level of quality control than other tolerances. It allows you to specify unique geometric characteristics in your design, such as the true location of features, and the flatness, perpendicularity, parallelism, and concentricity of parts.
Often, GD&T enables you to accurately communicate your design intent. It also reduces the need to explain complex requirements, especially if you wish to outsource manufacturing to other machine shops.
Conclusion
After reading this article, you will know that machining tolerances are key when you want to design and working parts. Of course, the success of a fabrication project ultimately depends on which machine shop you decide to work with. If you are still confused about choosing your cooperative machine shop, the CNCMass will be the key for you to solve this problem. A high-quality and professional team determines that CNCMass can provide you with excellent mechanical manufacturing services.


